Getting Started with the Render Client
Welcome! This blog post should give you an introduction about Helios Render Client for Windows, Mac and Linux. Learn how to:
- Download and install the client
- Sync your projects to the cloud
- Render quick previews in the cloud
- Render the full project with the power of a supercomputer
- Download / sync the results of the rendering to your computer
Get Started
To get started sign up for free on our platform, choose the render client and download the package for your operating system.
Install the download application on your workstation and log in with your credentials you set during sign up.
Add Project
Configure the folder where you have your project files. The Helio client then automatically sync this folders to the Cloud. This enables you to render when you're ready without long fileuploads. We can also sync your textures and libraries from e.g. your NAS or fileserver. Please contact our support for the setup.
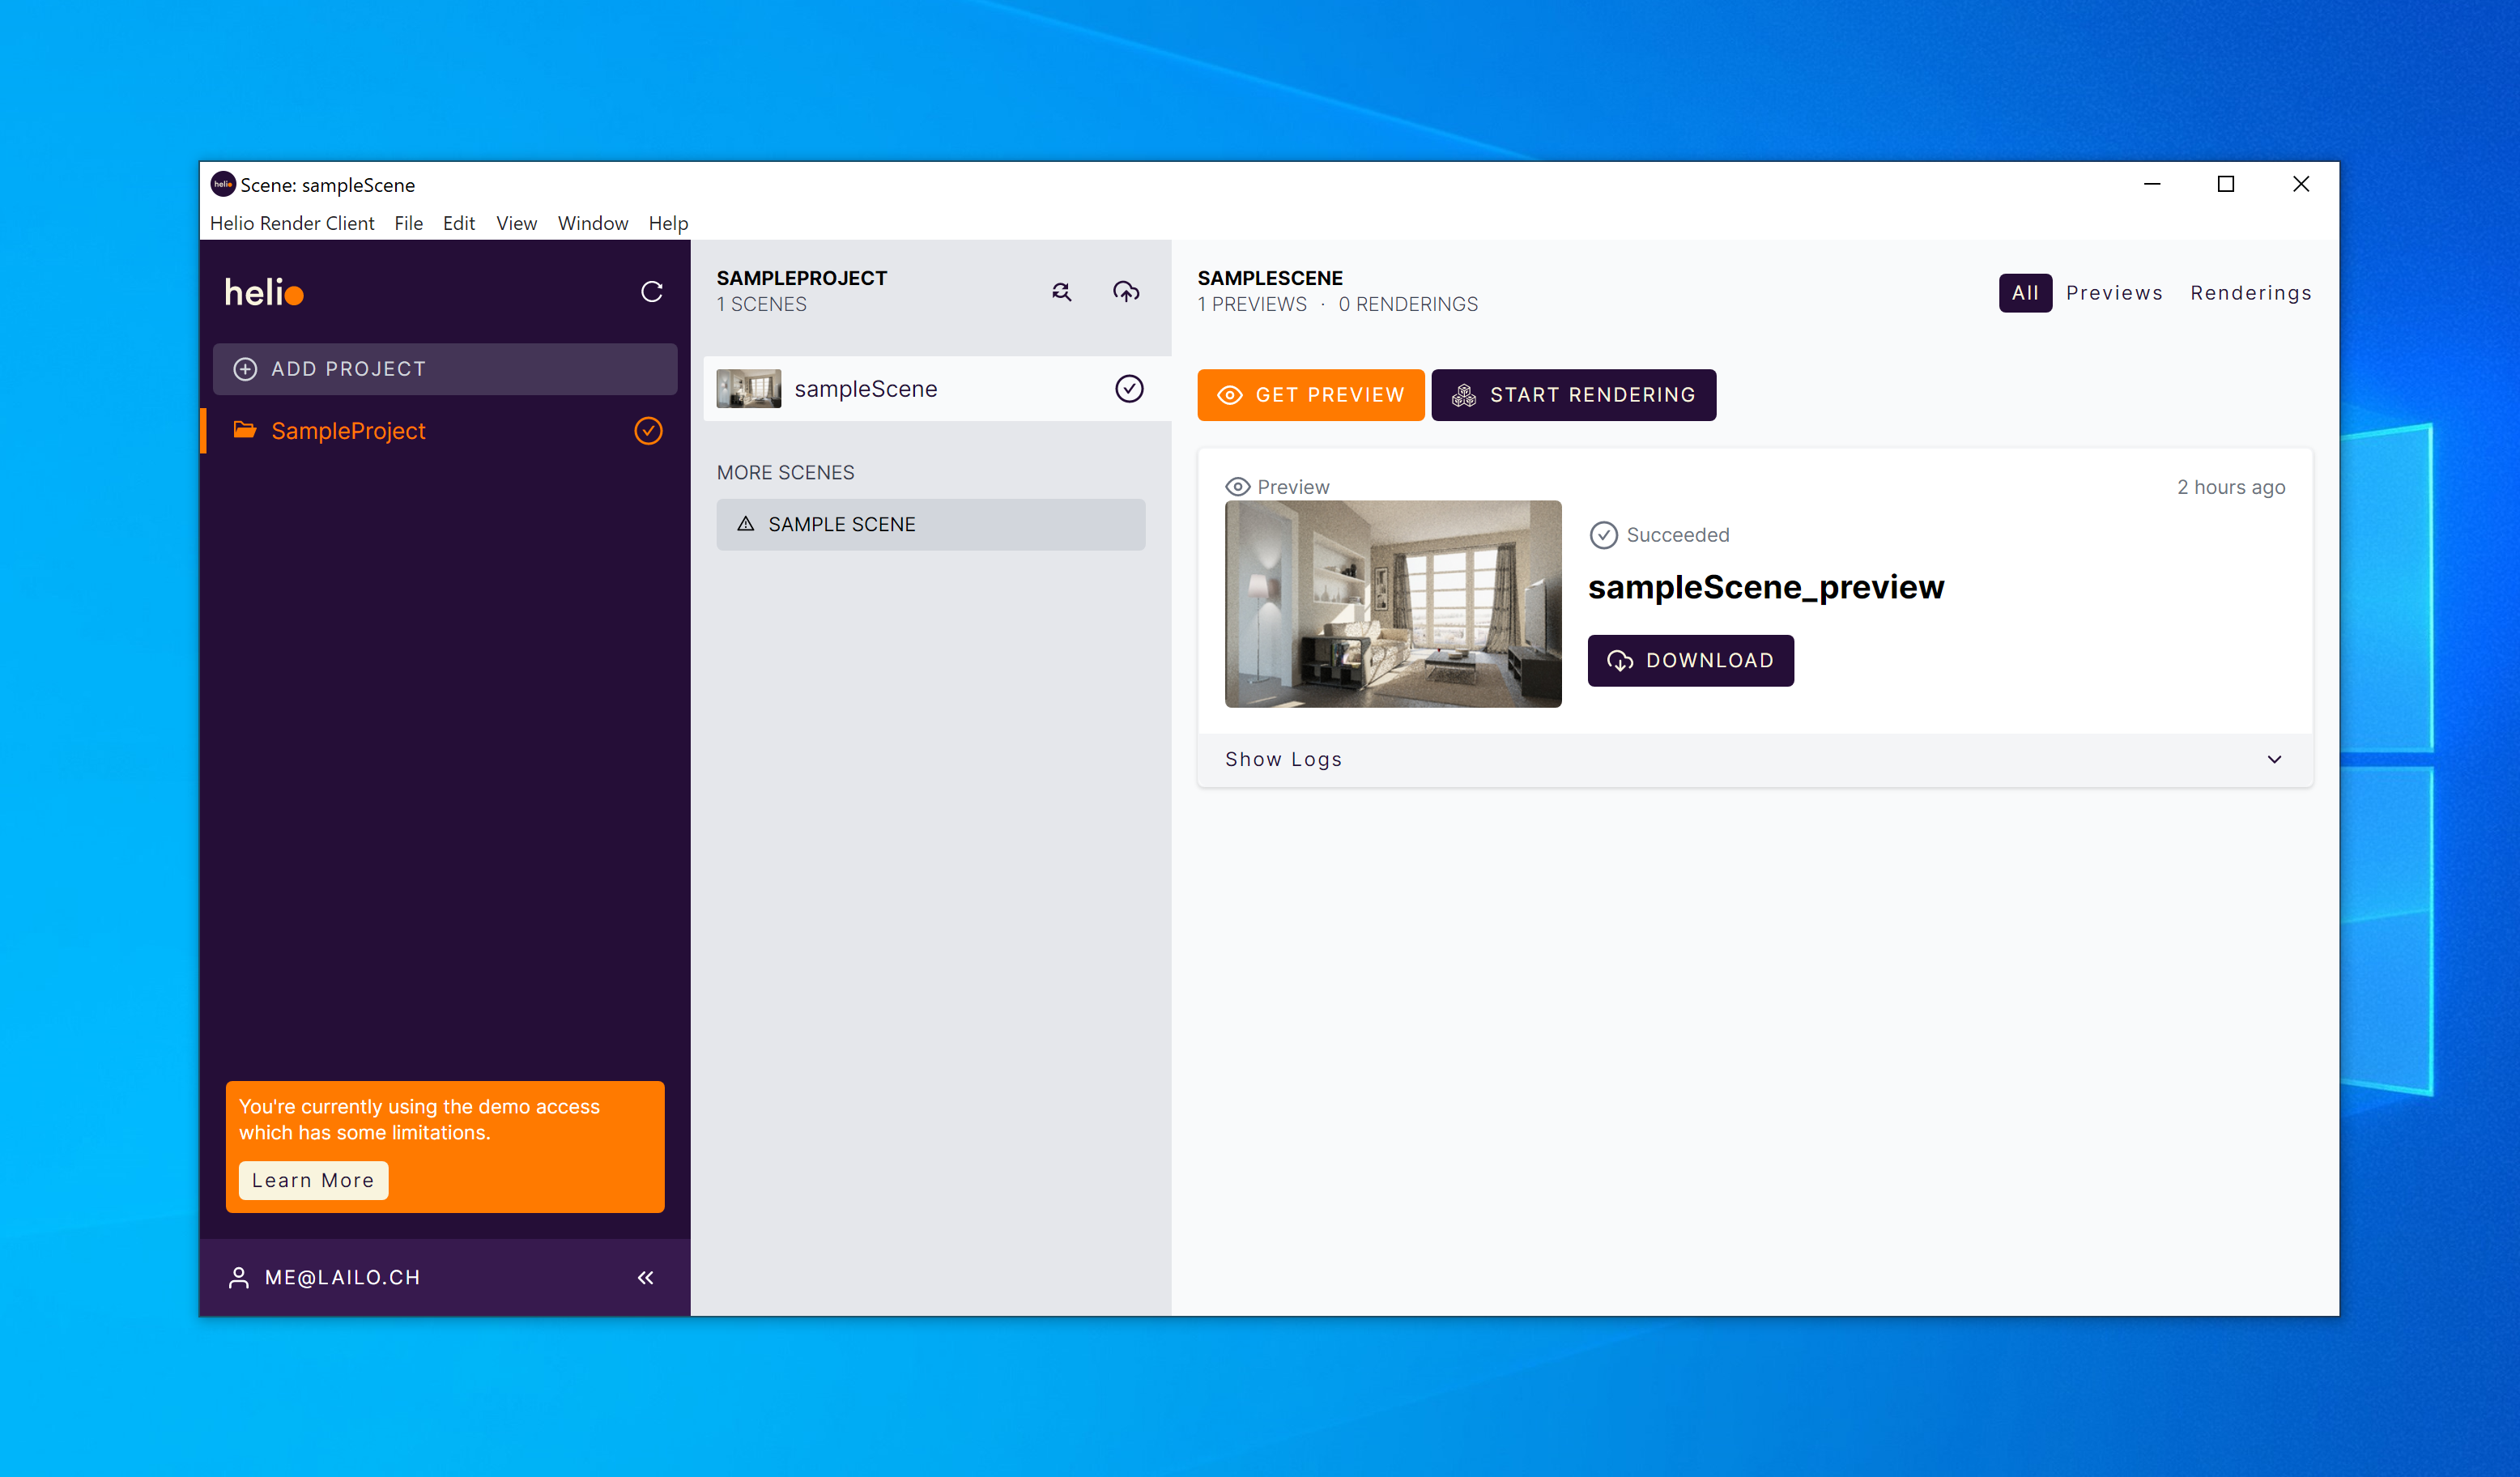
Get A Previews
Rendering previews help you to get fast feedback on changes and see if the light, plugins etc are working like expected. You can quickly experiment with noise limits, cameras etc and get results within 1-2mins.
Full Rendering
If the preview looks the way you imagned it, you can start a full rendering. To do that, choose your settings, noise limits etc and submit the job. Helio scales the job afterwards with the best matching compute and delivers you the results as fast as possible. e.g. with a 300 frames animation we scale the job to 300 different servers and render it with the power of a supercomputer.
Download Render Results
During the preview and final rendering configuration you have chosen the path to download the file. After the preview or the final rendering are done, you can download it easily by clicking on "download". That's it.